
Image:https://docs.microsoft.com/en-us/azure/firewall/overview
One of my ongoing projects needs to forward DNS queries from resources within Azure to on-premise DNS and Azure Firewall with custom DNS and DNS proxy fulfills my requirement perfectly. Therefore, I am writing this blog for my recording as well as sharing it to you all.
What is Azure Firewall?
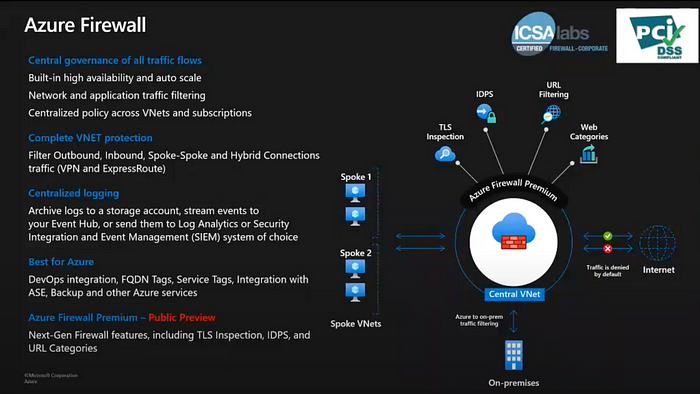
Azure Firewall is a managed, cloud-based network security service that protects your Azure Virtual Network resources. It’s a fully stateful firewall as a service with built-in high availability and unrestricted cloud scalability.
You can centrally create, enforce, and log application and network connectivity policies across subscriptions and virtual networks.
Azure Firewall Features
Please refer here for more details.
For this demo, my architecture looks like this.
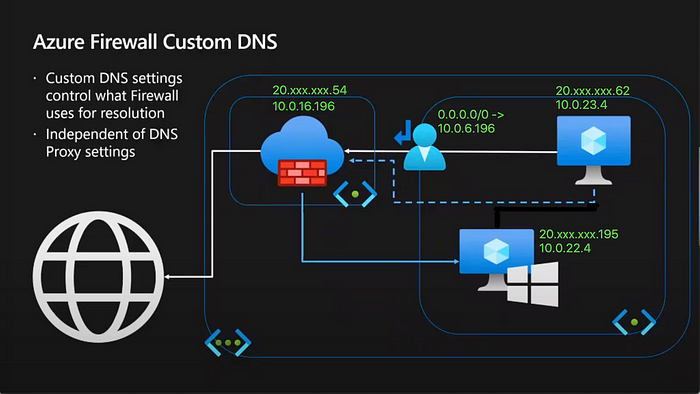
I have A Linux client, A Windows DNS server and An Azure Firewall.
The goal is simple
- Linux client queries at Windows DNS server THROUGH Azure Firewall.
- All traffics from Linux client is filtered and recorded by Azure Firewall.
- All logs are recorded by Azure Firewall centrally.
Things to be done to achieve goal above
- Enable custom DNS and DNS proxy on Azure Firewall
- Change Linux client’s DNS server to Azure Firewall private IP
- Create Azure Route Table, direct all traffics to Azure Firewall
- Create DNAT and other rules for testing
- Enable logging in Azure Firewall
I have the lab environment prepared before hand. Only configurations are shown in this post. Let’s get started!
When provisioning Azure Firewall, Azure Firewall supports both traditional rules and policies. I chose Firewall policy so I must configure DNS settings there.

Configure DNS settings as below.

- №2:Enable logging feature
- №3 & №4:Enable custom DNS feature and configure custom DNS server
- №5:Enable so that Azure Firewall can proxy DNS query to custom DNS server
Next, let’s setup Azure Firewall to record all logs.
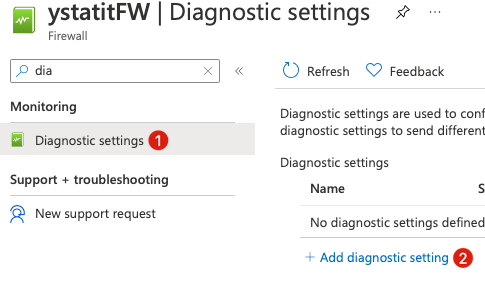
Configure Azure Firewall logs to be stored at Log analytics workspace.

Next we poing Linux client’s DNS server to Azure Firewall, so DNS queries are sent to Azure Firewall. There are couple ways to do so, I am configuring it through it’s NIC.

Configure as below where №3 is the private ip of Azure Firewall.

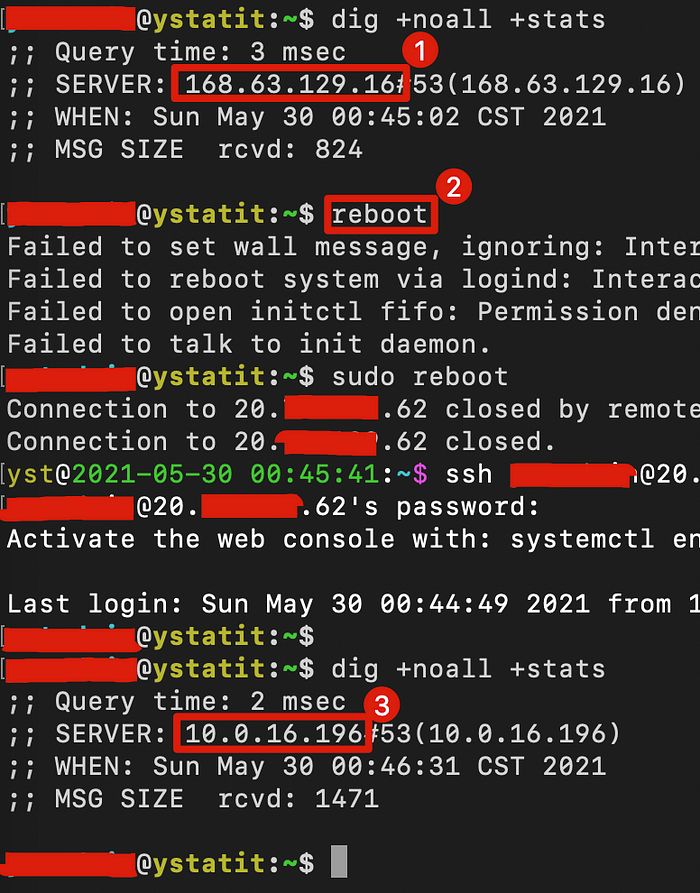
Reboot Linux client so that new DNS setting will take effect, which changed from default Azure DNS(№1) to Azure Firewall’s private ip(№3).
Setup Windows DNS server to simulate a private domain name. I have setup a DNS record www.ystatit.com pointing at 1.2.3.4
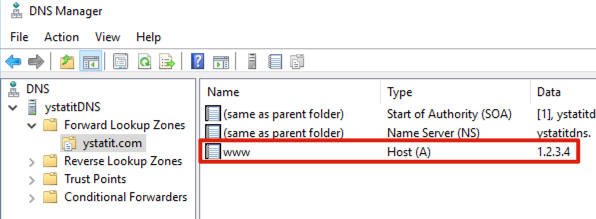
Let’s verify if Linux client can query the custom URL and get the ip correctly.

At this moment, Linux client is querying DNS through Azure Firewall BUT accessing internet directly. Next let’s force all traffics to go to Azure Firewall. We do it by creating a Azure Route Table and apply it to the VM subnet.
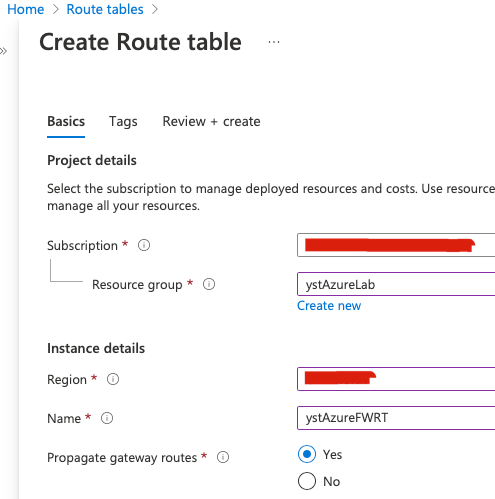
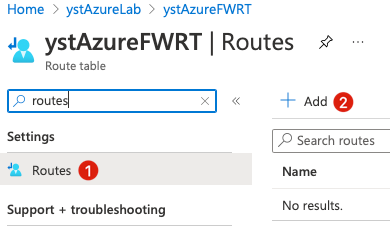
Create a route saying that all traffics must go to Azure Firewall.

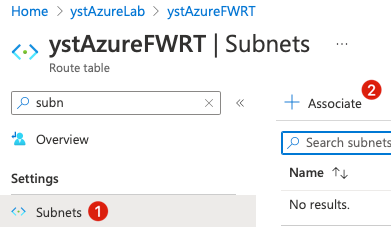
Once done, we associate the route with the Linux client’s subnet.

Lastly, we can verify the result from Overview page.

At this point, we cannot login the Linux client from it’s public ip anymore. All it’s traffic is controlled by Azure Firewall, therefore we setup DNAT rule to access Linux client from Azure Firewall. Make sure your rule is DNAT(№2).

- №3 is the source ip you allow to connect to Linux client
- №4 is the frontend port you want to access
- №5 is the PUBLIC ip of Azure Firewall
- №6 is the backend server you want to DNAT to, which is the private ip of Linux client
- №7(scroll further right) is the port of the destination which is port 22
Once done, verify it from DNAT Rules.

Let’s try SSH Linux client from Azure Firewall’s PUBLIC address.

We can SSH Linux client successfully. We also verified that DNS query to custom URL is stilling working fine. Let’s try query ifconfig.me and it does respond with it’s public ip address but we CANNOT access it cause we do not have any rules allowing it.
Let’s setup an Application Rule for ifconfig.me

- Make sure №2 is Application
- №3 is the allowed source
- №4 is the allowed protocol to outbound
- №5 is the allowed destination type
- And finally the destination you are allowing to be accessed
Now let’s try it on Linux client again and succeed! You will obtain your Azure Firewall PUBLIC IP.

Let’s try access www.google.com and obviously we will fail cause it is not allowed in any rules yet.

Let’s configure a Network Rule that will allow all outbound 80 and 443 port.

Configuration is almost the same. Make sure №3 is Network
- №4 are the ports allowed to outbound
- №5 is the destination allowed to access
With this rule setup, we will be able to access all 80 and 443 ports on the internet. And yes, that includes ifconfig.me, meaning that the Application Rule we setup previously is overlapped.

Lastly, let’s check out all the logs recorded by Azure Firewall.

From logs, we do see allow and deny entries from various requests!

That’s it for today, hope you all enjoy it!
